JGaulard
Administrator
Pro Member
- Joined
- Apr 12, 2019
- Messages
- 33
- Reaction Score
- 3
- Points
- 33
Today was an exciting day. My buddy and I had the opportunity to change the recently broken shock mount on his 2008 Mazda 3. This is actually the second rear shock mount we've replaced on this car, this season. And as a matter of fact, both of them were damaged while hitting the same pothole. I have no idea how this took place because the mounts were on different sides of the car. Stranger things have happened.
Anyway, since I had the presence of mind to take some photos this time around, I thought I'd share the very straightforward process of replacing a rear shock mount on a 2008 Mazda 3 with you. It's not a difficult job at all, but you will need some tools. Wrenches, sockets and probably a breaker bar.
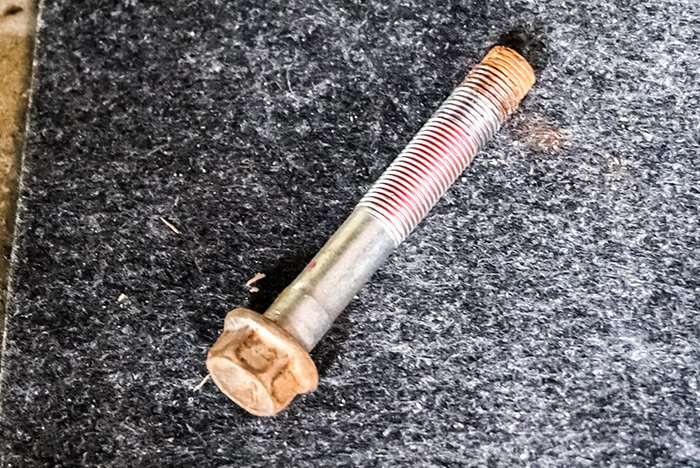
The first thing you are going to need to do is to jack up the car and take off the tire that's on the side of the offending mount. After the car is secured, follow the shock all the way down and find the bolt that holds the bottom portion of it on. Use a socket and either a large socket wrench or a breaker bar to remove this bolt. This is what the bolt looks like.
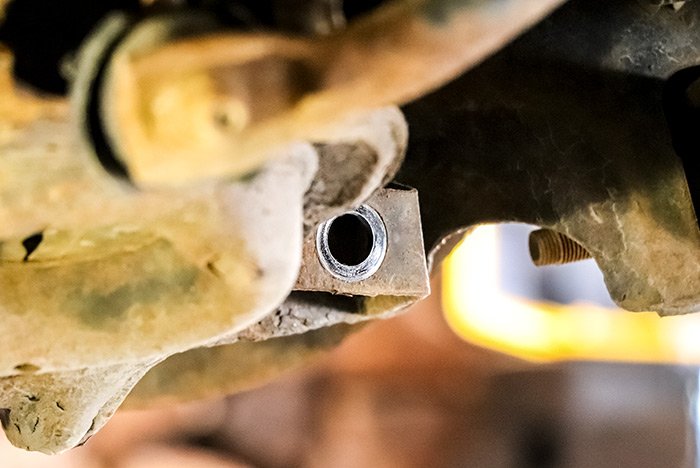
And this is what the lower mount bolt hole looks like after the bolt has been removed.
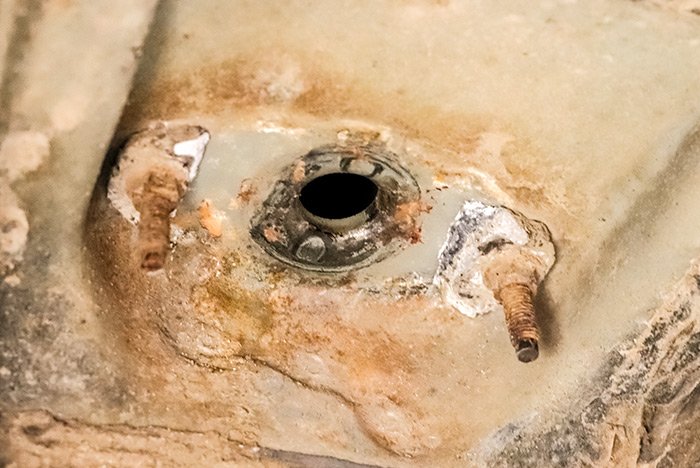
The next thing you're going to need to do is to remove the two nuts from the upper shock mount bolts. I suggest you spray some penetrating oil on these bolts to make your life easier as you're taking the nuts off. You'll also need to use deep sockets to remove these nuts. Don't try doing this with a regular wrench. You'll be there all day doing it. I think the nuts are either 12mm or 13mm. This is what things look like before the mount has been removed. Those are the rusty nuts and the broken portions of the mount are still attached.
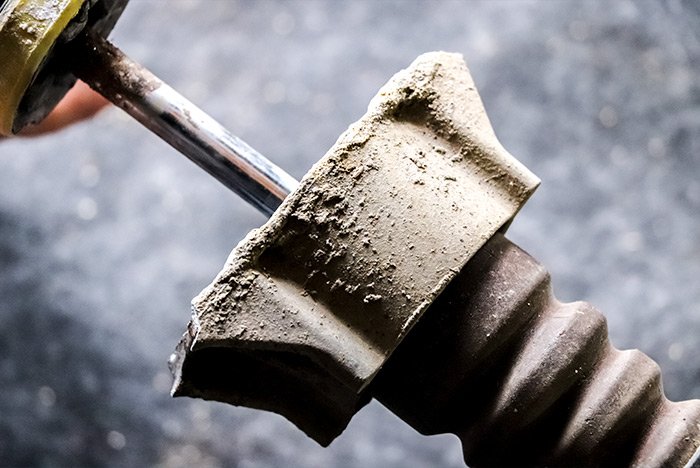
This is what you'll most likely be looking at after you remove the shock from the car. This is the broken shock mount that's still attached to the shock itself.
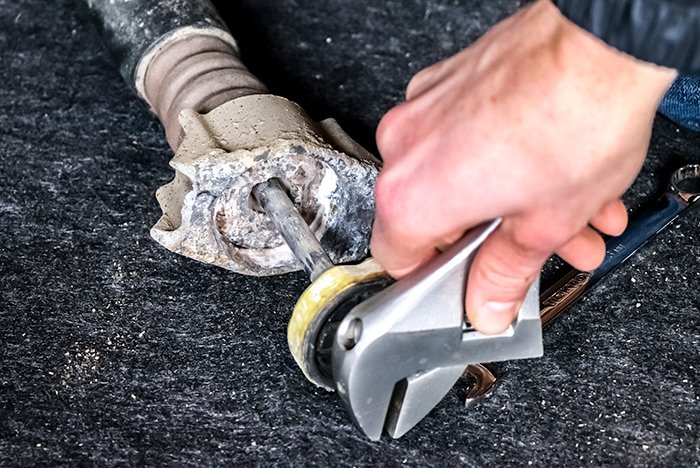
To remove the actual mount from the shock, you'll need to hold the chrome rod in place to stop it from turning while you remove the nut from the end of the rod. The best way to hold the rod in place is to use an adjustable wrench on it. Then, use either a 12mm or 13mm wrench to remove the nut. I forget what size it is.

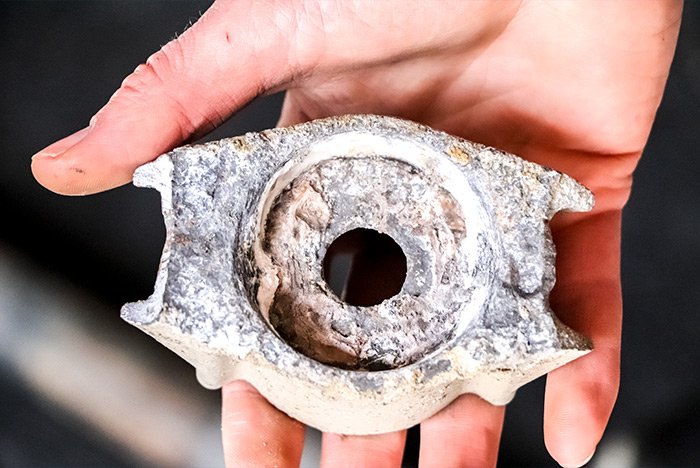
This is what the broken shock mount looks like. As you can see, there's some corrosion on it. I wonder if this has anything to do with the mount breaking. I'm also thinking that steel mounts may last longer than these aluminum ones do.

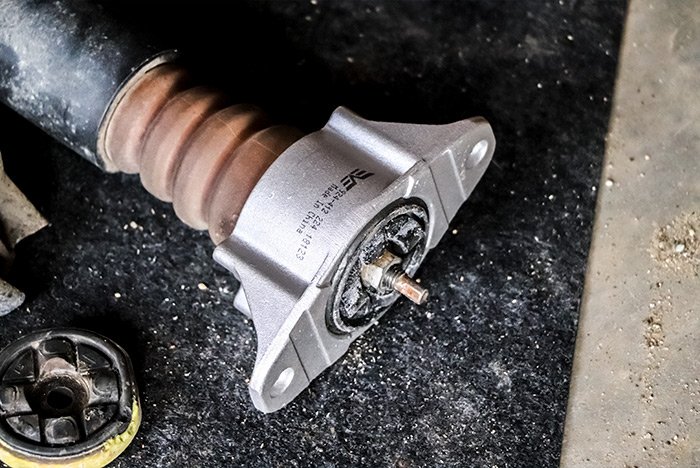
Now, just reverse the process. Place the new mount on the shock and refasten the nut. You'll likely want to spray some oil on this bolt as well. There are lots of threads and oil makes things move along more smoothly.
Finally, place the shock back in the car and refasten the lower bolt. Make sure it's nice and tight. Then, fasten the upper shock mount to the body of the car with the two new nuts that should have come with the mount kit. Again, apply oil to the threads.
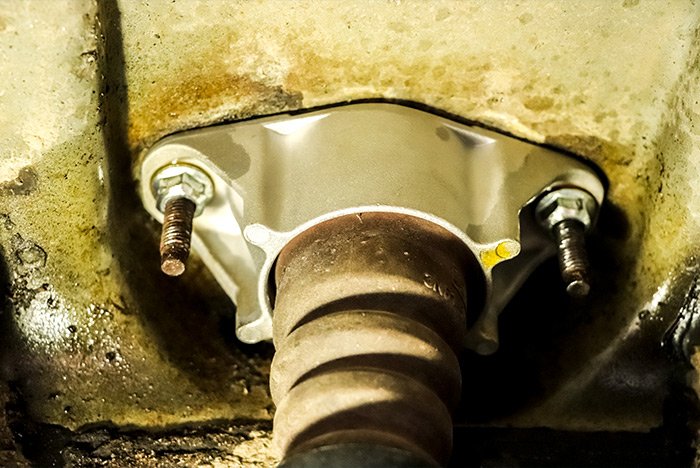
Make sure the nuts are tight and then replace the tire, lower the car back to the ground and you're done.
If you have any questions regarding this automotive repair, please ask below. If you have anything to add, please add it below as well. Thanks!
Anyway, since I had the presence of mind to take some photos this time around, I thought I'd share the very straightforward process of replacing a rear shock mount on a 2008 Mazda 3 with you. It's not a difficult job at all, but you will need some tools. Wrenches, sockets and probably a breaker bar.
The first thing you are going to need to do is to jack up the car and take off the tire that's on the side of the offending mount. After the car is secured, follow the shock all the way down and find the bolt that holds the bottom portion of it on. Use a socket and either a large socket wrench or a breaker bar to remove this bolt. This is what the bolt looks like.

And this is what the lower mount bolt hole looks like after the bolt has been removed.

The next thing you're going to need to do is to remove the two nuts from the upper shock mount bolts. I suggest you spray some penetrating oil on these bolts to make your life easier as you're taking the nuts off. You'll also need to use deep sockets to remove these nuts. Don't try doing this with a regular wrench. You'll be there all day doing it. I think the nuts are either 12mm or 13mm. This is what things look like before the mount has been removed. Those are the rusty nuts and the broken portions of the mount are still attached.

This is what you'll most likely be looking at after you remove the shock from the car. This is the broken shock mount that's still attached to the shock itself.

To remove the actual mount from the shock, you'll need to hold the chrome rod in place to stop it from turning while you remove the nut from the end of the rod. The best way to hold the rod in place is to use an adjustable wrench on it. Then, use either a 12mm or 13mm wrench to remove the nut. I forget what size it is.


This is what the broken shock mount looks like. As you can see, there's some corrosion on it. I wonder if this has anything to do with the mount breaking. I'm also thinking that steel mounts may last longer than these aluminum ones do.


Now, just reverse the process. Place the new mount on the shock and refasten the nut. You'll likely want to spray some oil on this bolt as well. There are lots of threads and oil makes things move along more smoothly.

Finally, place the shock back in the car and refasten the lower bolt. Make sure it's nice and tight. Then, fasten the upper shock mount to the body of the car with the two new nuts that should have come with the mount kit. Again, apply oil to the threads.

Make sure the nuts are tight and then replace the tire, lower the car back to the ground and you're done.
If you have any questions regarding this automotive repair, please ask below. If you have anything to add, please add it below as well. Thanks!

